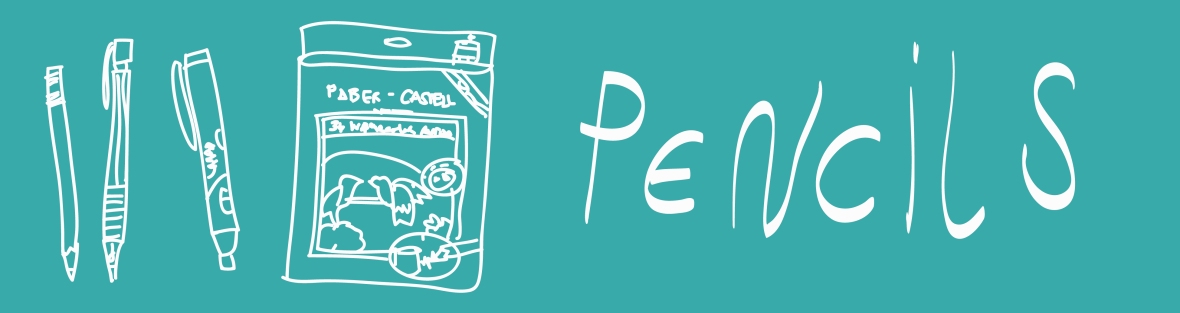
Inking your sketch might be sometimes a bit frustrating especially when you are starting. Maybe you find it okay to see your drawings on a fine pencil sketch or you haven’t had some inking tools to start with. I am making that kind of excuses when I was still in high school. Unfortunately, fear stopped me from exploring more about myself and on drawing. Let go of that fear and have the courage to be creative. Don’t worry because I am here to help you to solve those problems. It just need some practice, resourcefulness and just THREE (3) STEPS! Yes! Three easy steps. But before we move on to that, let us start from a short review of the inking tools.
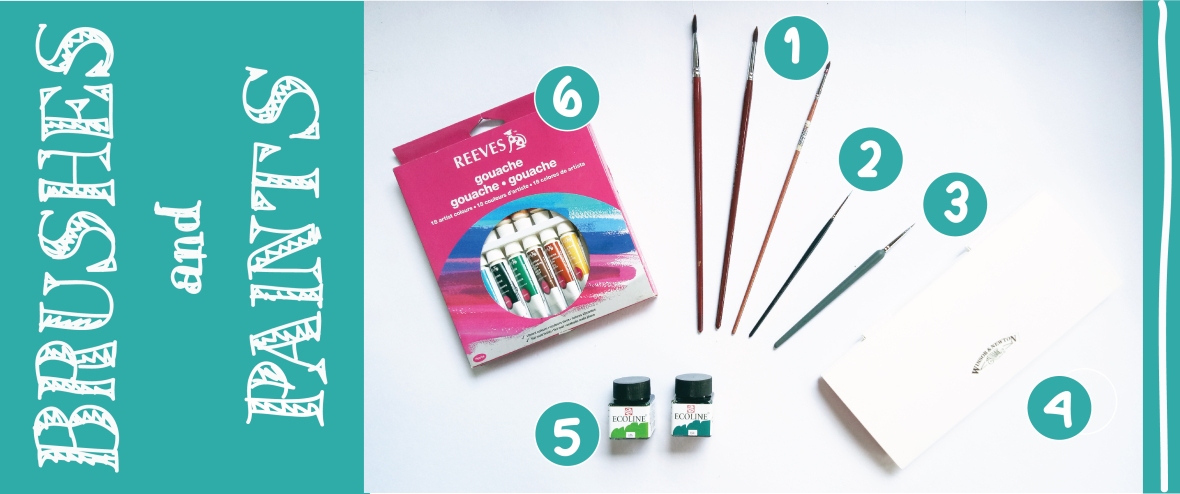
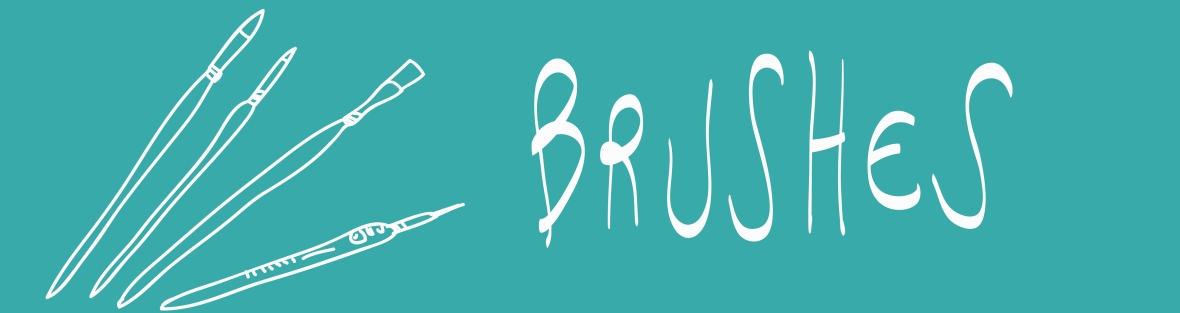
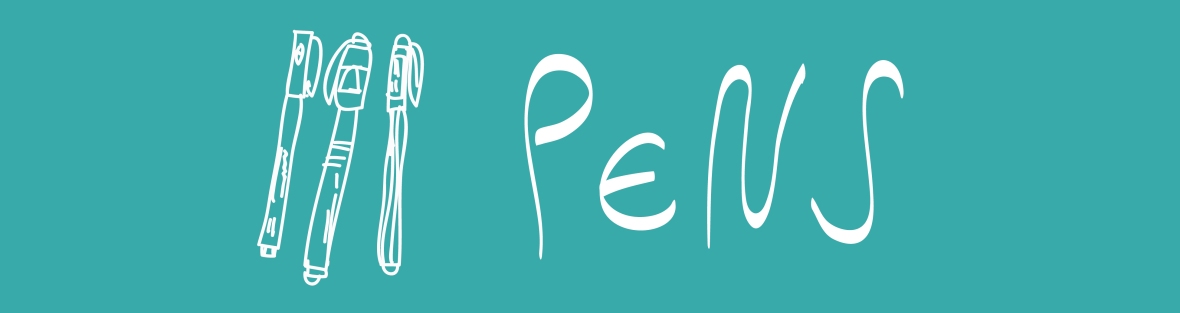
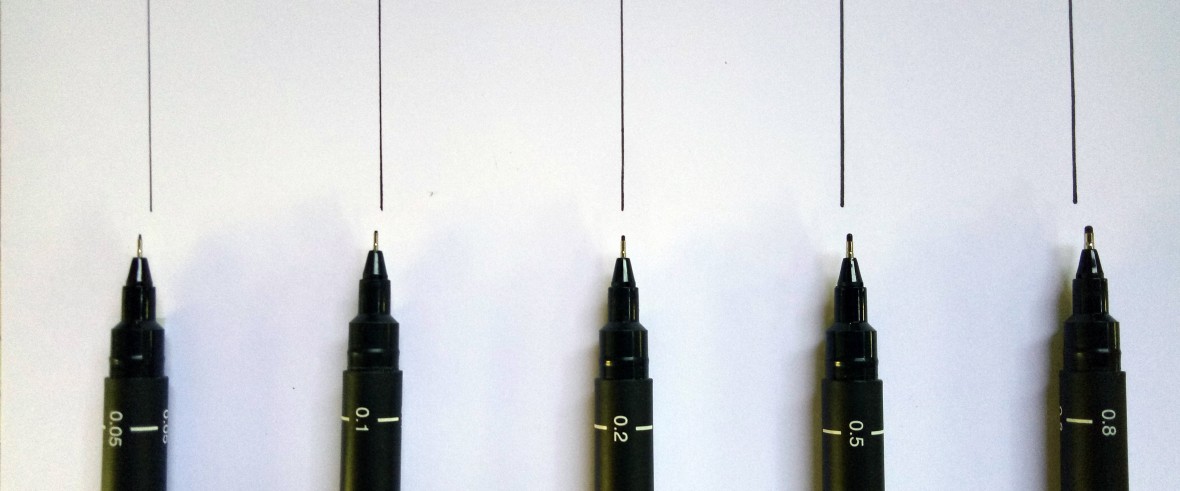
Fineliner pens. It comes on a variety of line weights from 0.05 to 0.8. You could make bold and thin lines depending on the pressure you exert. A trio of 0.1, 0.5 and 0.8 fineliner pens is good to start with. The ink is waterproof so you may use it on your watercolor projects.
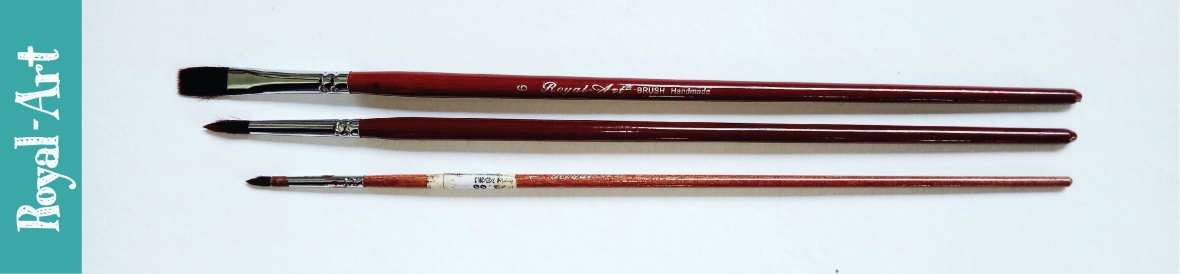
Brushes. You may use brushes #0 – #5/0(thinnest). I use either Sakura brush 555 2/0 or Maries brush 2/0. I usually used it on small scale paintings like on A5 size paper or even smaller than that. You could make thick to thin lines by handling it in different angles or in the pressure you exert.
Note: Research and make sure the ink you will buy is waterproof, though liquid watercolors will do good at inking it is not waterproof. Maybe it may serve as a substitute while you are on a waterproof ink hunt
WHAT IF YOU DON’T HAVE THESE TOOLS I MENTIONED???
So what if you don’t have any fineliner pens or thin brush on hand right now. Maybe you are just starting in this magical world of the art of inking or you are a student who needs to budget your allowance and there are school projects to prioritize. A fineliner pen costs a dollar. Believe me, what’s on your pencil-case will do. Be resourceful. Whether it is a sign pen or a ballpoint pen (both of it is still a pen, right?), it will do for this inking project of you. So your first two tasks are:
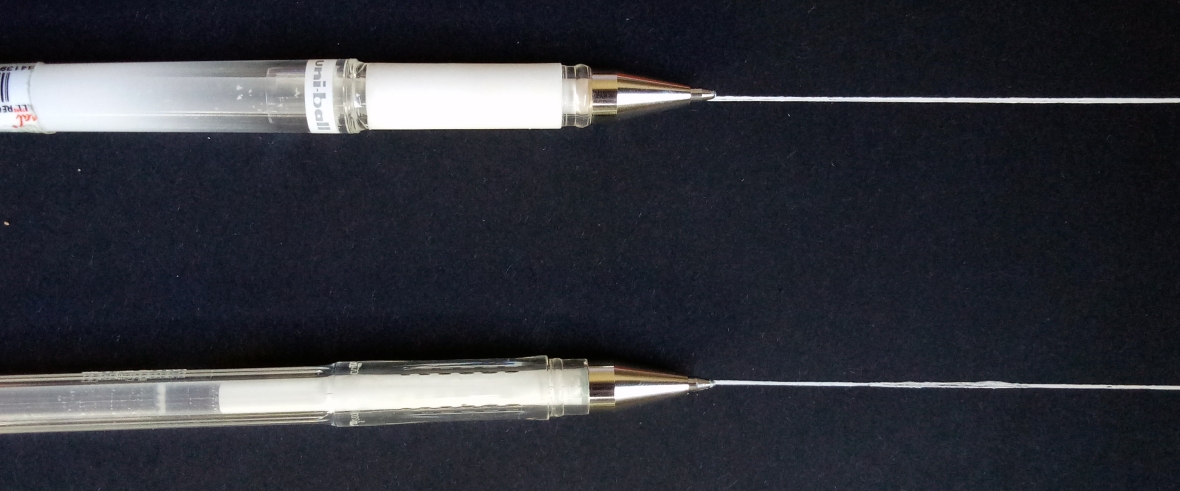
TASK 1: Try your pens on a sheet of paper to see how bold or thin is the line weight of the ballpoint pens you have. The line weights of your pens may vary based on the brand. I have a Sign pen and a Panda ballpoint pen here. The Sign pen’s line weight is thick and the Panda ballpoint pen is thin. Having two ballpoint pens varying in line weights would also be enough like Panda and Faber-Castell ballpoint pens duo.
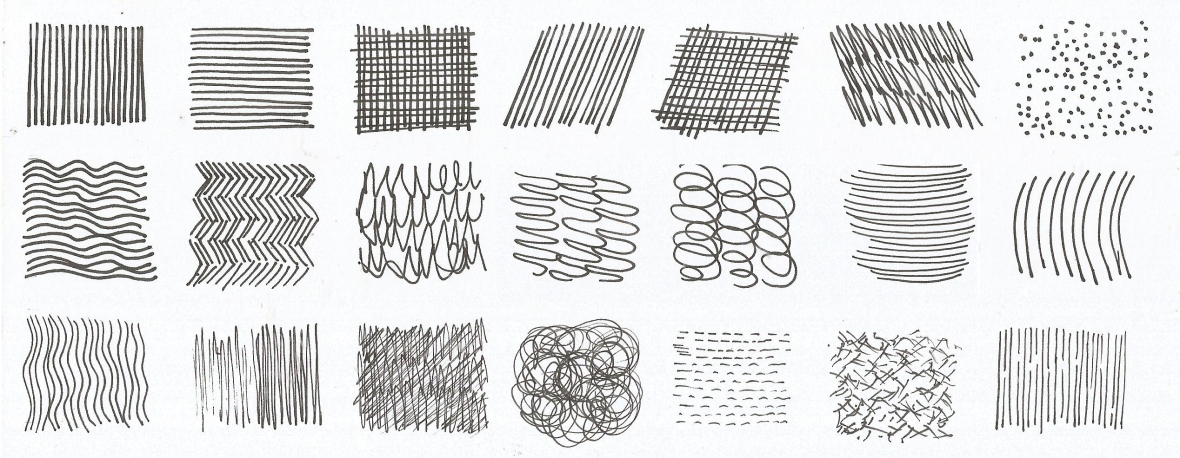
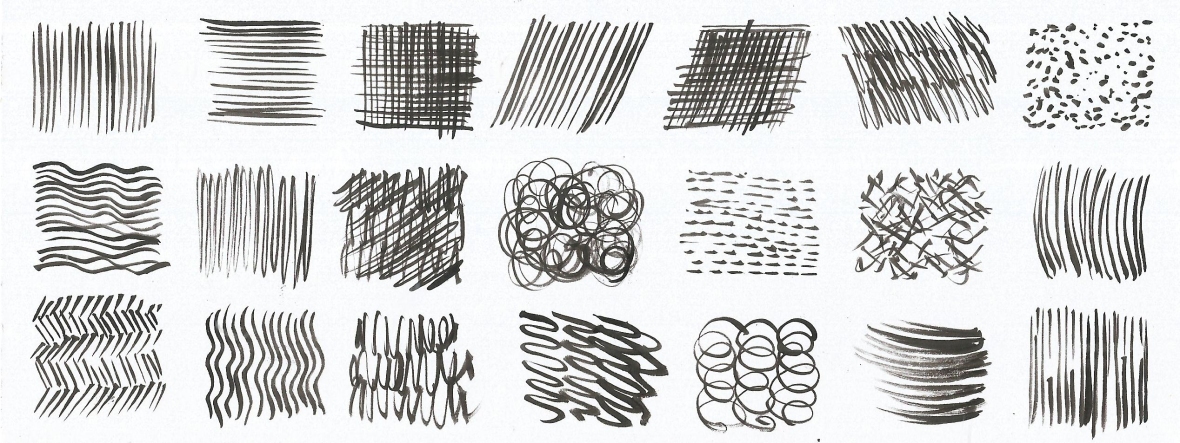
TASK 2: Try to draw the pen marks I did with fineliner pens for warm-up using your ballpoint pens. Go and get your sketchbook or a piece of paper for some warm-up exercises.
Get hold of your pens as we will start on INKING with the three easy steps I promised.
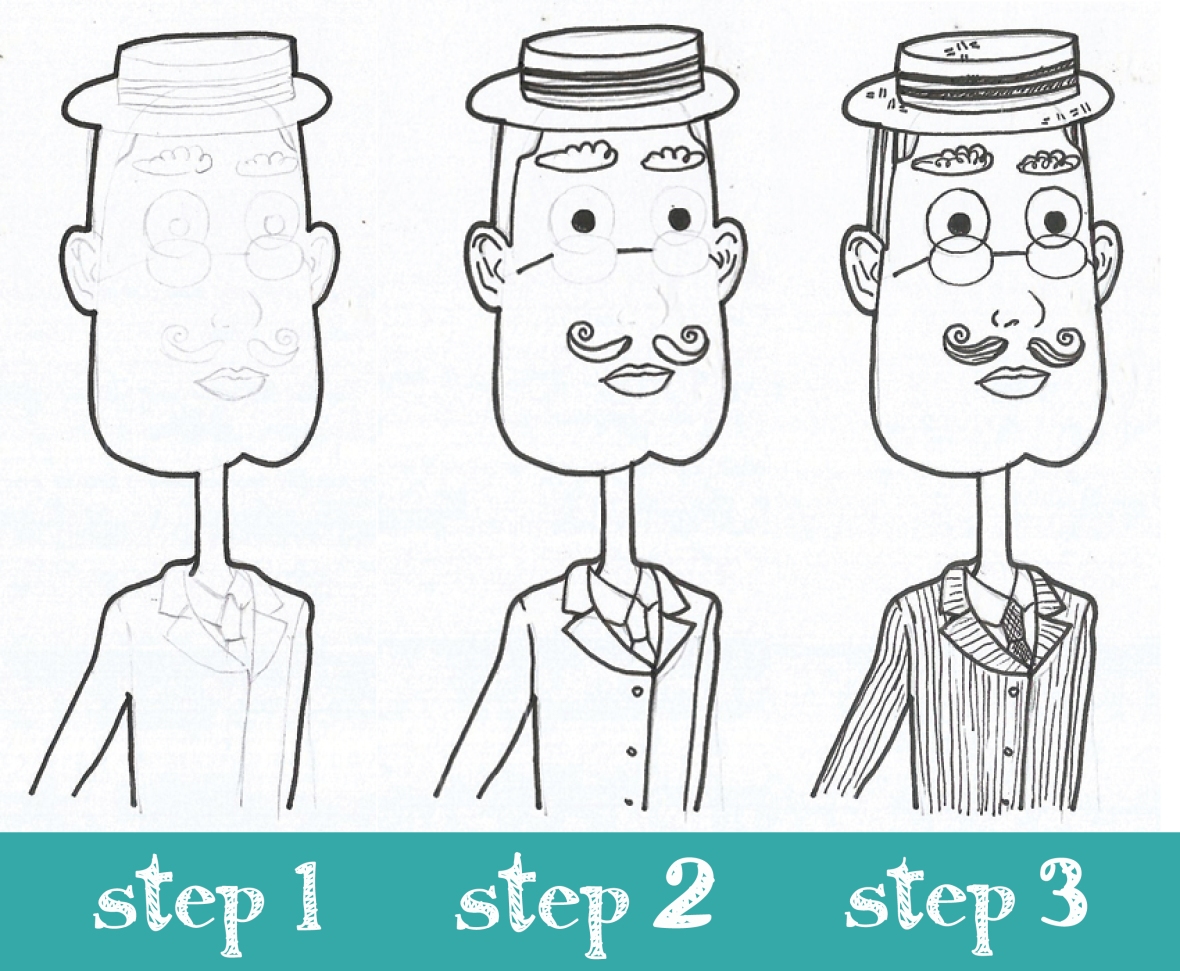

STEP 1: Start inking the silhouette/outline of the subject with bold lines. You may use your pen with the boldest and thickest line weight.
STEP 2: Go for medium line weights for midlines.
STEP 3: For small details use the thinnest line weight available. If you have just two pens, hold the pen you used for medium line weight lightly to make thin lines. Add texture or pattern to make it more interesting.
I hope this post help you to kick-start your first inked drawing. I would love to see your drawings. Please tag us on Instagram @kooky_coo with the hashtag, #myfirstinkeddrawing. If you like it, you may share it to your friends who had this fear which prevent them to ink their amazing drawings. You may follow us on WordPress to be updated with upcoming blog posts. I will be having mini workshops in the following blog posts. I will try my best to share with you all the little things I know about drawing.
I would want to leave you some inspirational quotes or advice to drive your passion. Just keep on practicing. Take it slow. As cliché it sounds, “Practice makes progress”. Have a positive drawing habit by setting an hour or few hours of drawing session every day. Have someone with you or listen to music or podcast to make it enjoyable. I hope you will have a wonderful week, see you next time.


 Adobe Photoshop. It is the software I usually use for editing purposes. I modify the photos for my blog or my scanned freehand illustrations with this software. This software works best for this purpose. What I mean about the “simple modifications” I use some tools on Photoshop like the Brightness/Contrast, Levels and Curves and even the trio: Auto Tone, Auto Contrast and Auto Color.
 Adobe Illustrator. This is the software I always use for my digital illustrations. I love it as you could make non-pixelated, high quality vector images. There are also some interesting tools on it like the Pathfinder and its Pen tool which works differently than Photoshop’s Pen tool. It is best for high quality vector illustrations.


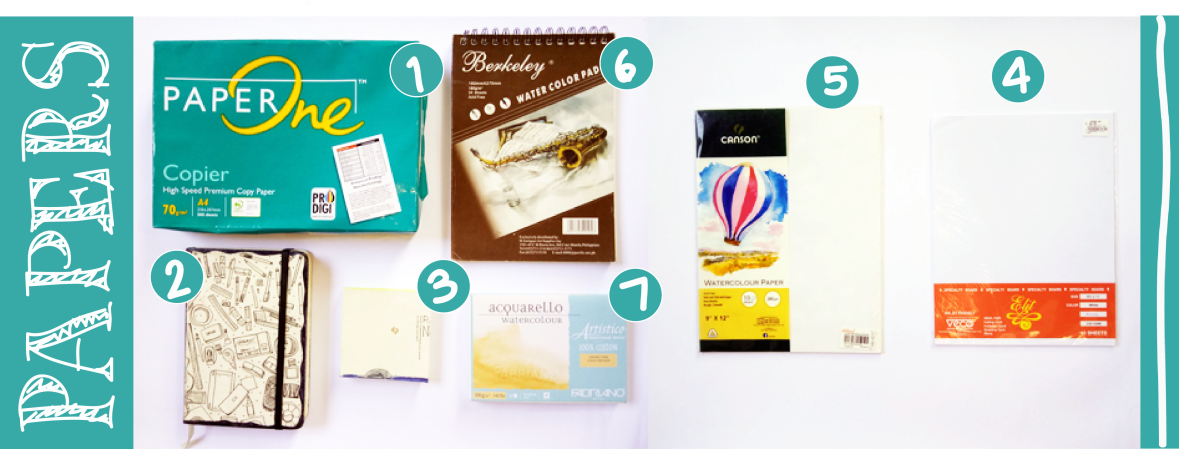
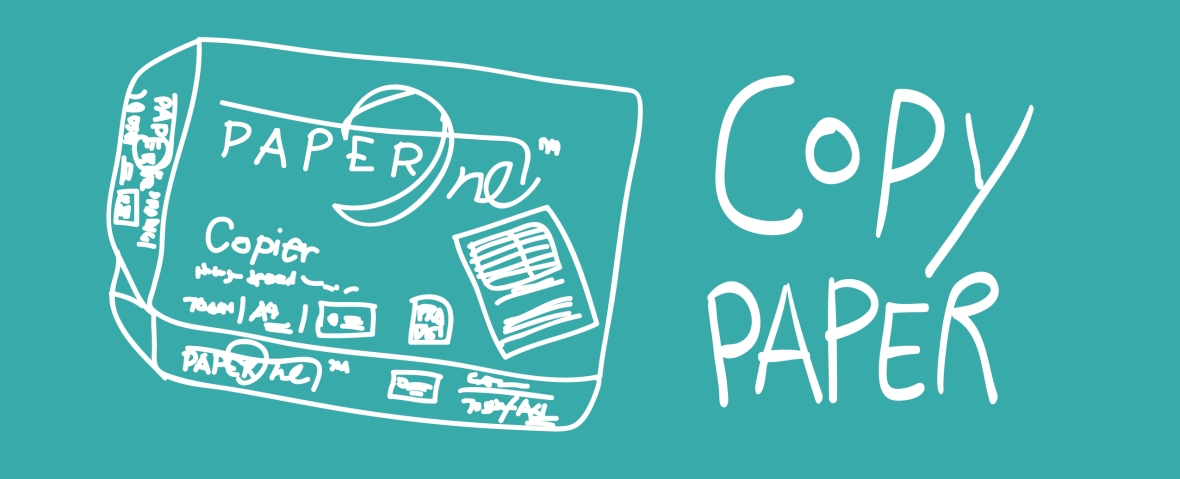 COPY PAPER. It is thin and has a smooth surface which is great for recording your thoughts in the form of sketches or doodles. It comes in 70gsm, 80gsm and 100gsm (grams per square meter). A 70gsm paper will do for sketches but it is up to you if you prefer to work on a thinner or on a thicker paper. I used to work on a 70gsm, A5 size Paper One copy paper. It is usually an A4 size paper cut in half.
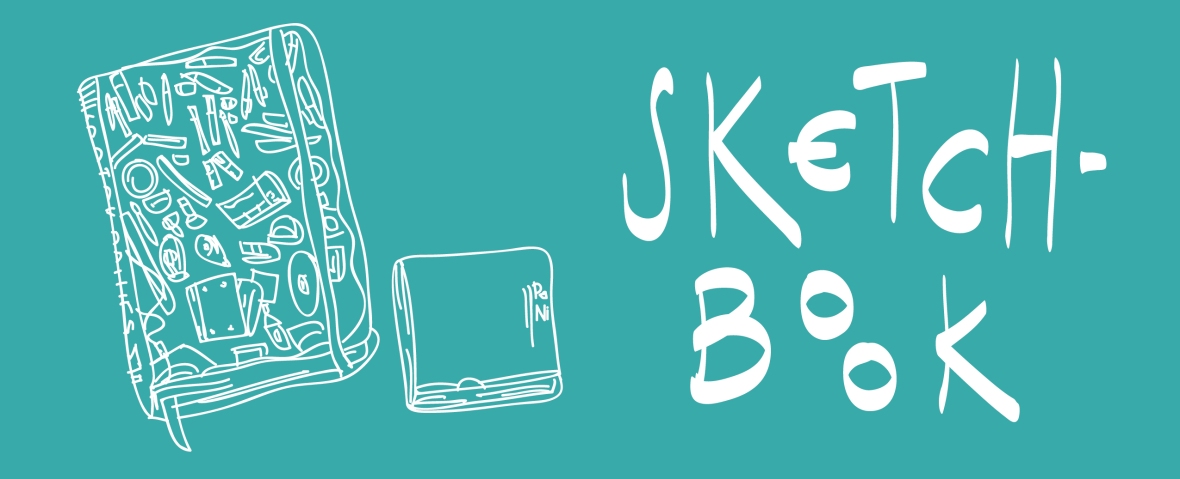 SKETCHBOOK. It comes in a variety of sizes & paper styles as graphed, dotted, lined and unlined. It is important to keep your sketchbook handy. I do have a 105mmx105mm unlined Lenwa sketchbook for hand lettering drafts; and an unlined A5 size Limelight journal/sketchbook for sketching different subjects. For watercolors, a ring-binded watercolor sheets on a pad and journal type are both available in art supply stores. Moleskine does have a variety of watercolor sketchbooks on different sizes.
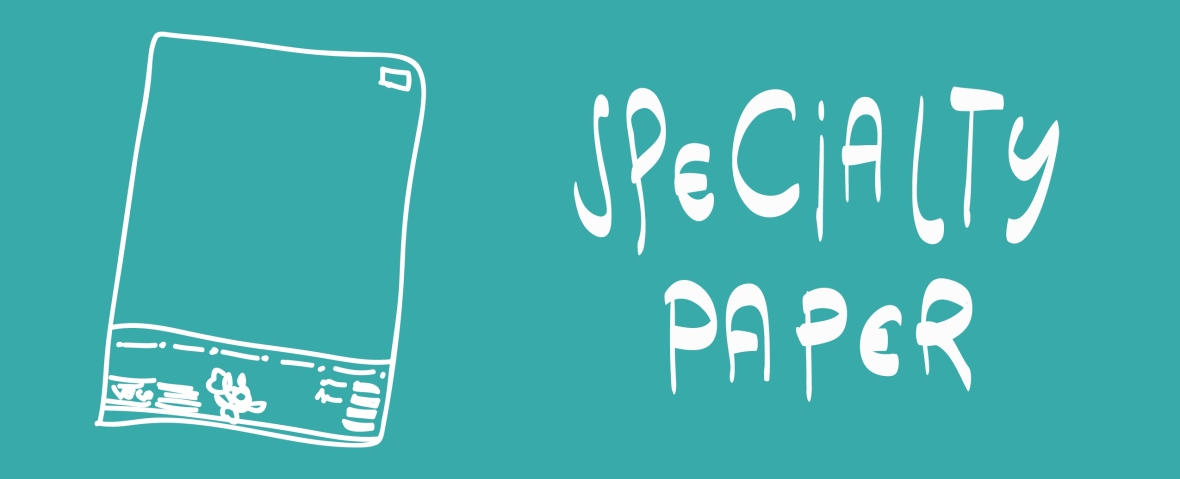 SPECIALTY PAPER. This type of paper is produced mainly for special purposes like menus, greeting cards, invitations and calling cards. It comes in different textures, colors and sizes. A plain white or cream Veco vellum board is good to go for illustrations with markers and fineliner pens. It is available in a pack of 10 sheets and each sheet weighs 210 gsm.
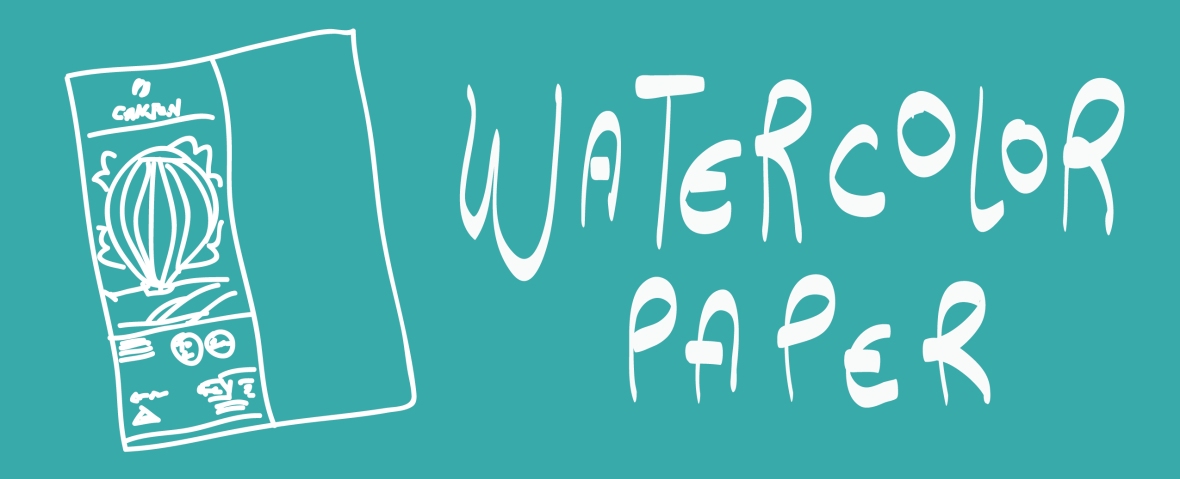 WATERCOLOR PAPER. It comes in different weights from 180 to 300 gsm. It is available in three types: hot-pressed (smooth), cold-pressed (textured) and rough. Hot-pressed are the best for small and detailed illustrations. Cold-pressed are good for medium-scale paintings while rough is good to go for pros. Watercolor paper comes in sheets, rolls, pads or blocks. I did use three (3): Canson watercolor paper (9×12, 10 sheets per pack, 210 gsm), Berkeley watercolor pad and Fabriano Artistico 5×7 block (300gsm, 25 sheets. On watercolor block, sheets are glued on four (4) sides to prevent the paper from warping when wet. It is a way expensive compared to the others as it is 100% cotton and archival quality.